Hey there, amazing developers! 👋 Today, we’re diving into a crucial aspect of web development: file uploading in Laravel 10.
Whether you’re building the next big social media platform or a small personal project, mastering file uploads is essential. So, buckle up, and let’s make file uploading with Laravel 10 not just possible, but also fun and efficient!
As a regular reader of my blog, you know I’m always on the hunt for great products that add value to our lives. I’ve spent countless hours researching and testing to find the best options out there. Today, I’m excited to share with you some of my favorite finds on Amazon!
The Best Gifts for your family and friends

Just a quick note: If you purchase through the links in this post, I receive a small commission from Amazon at no extra cost to you. This helps support the blog and allows me to continue sharing content on Medium.com. Your support is greatly appreciated!
What’s Exciting in Laravel 10?
First off, let’s delve into Laravel 10. It’s not just an incremental update; it’s a leap into a realm of enhanced possibilities. Laravel, renowned for its philosophy of writing elegant and maintainable code, has elevated this principle in version 10 with several key improvements and additions.
Enhanced Routing System
One of the standout features of Laravel 10 is its improved routing system. Routing, the mechanism that maps your web requests to specific controller actions, has been optimized for better performance and flexibility. The introduction of advanced route caching mechanisms makes your web applications faster and more efficient, especially for complex applications with a large number of routes.
Improved Eloquent ORM
Laravel’s Eloquent ORM, a cornerstone of the framework, has seen significant improvements in version 10. These enhancements make interacting with databases not only more intuitive but also more powerful. With better support for complex data relationships and advanced query capabilities, developers can now handle data operations more effectively and with less code.
Advanced Security Features
Security in web development is paramount, and Laravel 10 steps up its game in this domain. The introduction of new security features and enhancements, such as improved hashing algorithms and more robust protection against common web vulnerabilities, ensures that your applications are secure and resilient against attacks. Laravel 10 also emphasizes on easier ways to implement encryption and decryption, making your application’s data security more robust.
Tailwind CSS Integration
In Laravel 10, the front-end scaffolding has shifted towards a more modern approach with the integration of Tailwind CSS. This utility-first CSS framework makes designing sleek, responsive UIs simpler and more efficient. This shift not only modernizes the aesthetic of Laravel projects but also aligns with current web design trends, making your applications look and feel contemporary.
Enhanced Testing Capabilities
Testing is an integral part of software development, and Laravel 10 introduces improved testing capabilities. With new features and helpers for testing, developers can write more comprehensive tests with less effort. This ensures that applications are not only functional but also reliable and bug-free.
Improved Queue and Job Handling
Laravel 10 brings in improvements in queue management and job handling, which are crucial for performing background tasks and scheduling. These enhancements provide more control and flexibility in managing asynchronous tasks, improving the overall performance and scalability of applications.
Streamlined API Development
With the growing importance of APIs in web development, Laravel 10 offers improved tools and features for API development. This includes enhanced rate limiting, better handling of API resources, and a more intuitive way of writing API-centric applications. This makes Laravel 10 an ideal choice for developers looking to build robust and scalable API platforms.
Comprehensive Mail and Notification System
Laravel 10 further refines its mail and notification system, making it more versatile and easier to use. With improved support for markdown and mailables, sending beautifully formatted emails is more straightforward. Additionally, the notification system has been enhanced to support more channels and provide more customization options.
Developer Experience and Efficiency
Last but not least, Laravel 10 focuses on improving the overall developer experience. From the installation process to the deployment of applications, every aspect has been refined for efficiency and ease of use. The framework’s error handling, logging, and debugging tools have also been enhanced, making it easier for developers to trace and fix issues.
In summary, Laravel 10 is not just an upgrade; it’s a significant stride forward in the world of web development. With these improvements, Laravel continues to stand out as a framework that balances elegance, functionality, and performance, making it an excellent choice for both novice and experienced developers alike.
Preparing Your Laravel Playground
Before we dive into the nitty-gritty of file uploading, it’s crucial to have a Laravel environment up and running. If you’re new to Laravel, don’t worry — setting it up is a straightforward process, and I’ll guide you through each step. Once Laravel is installed, you’ll be all set to start building amazing things!
Step 1: Installing Laravel
System Requirements
First, ensure your system meets the following requirements:
- PHP (7.4 or later): Laravel 10 requires PHP 7.4 or newer. You can check your PHP version by running
php -vin your terminal. - Composer: Laravel uses Composer to manage its dependencies. If you don’t have Composer installed, head over to Composer’s official website for installation instructions.
Installation Process
With the prerequisites out of the way, let’s install Laravel. Open your terminal or command prompt and follow these steps:
- Create a New Laravel Project: Run the following command to create a new Laravel project:
composer create-project --prefer-dist laravel/laravel your-project-nameReplace your-project-name with whatever you want to name your project.
2. Navigate to Your Project Directory: Once the installation is complete, move into your new project directory:
cd your-project-nameStep 2: Configuring Your Environment
- Environment File: Laravel uses an
.envfile to handle configuration. After installation, you’ll find an.env.examplefile in your root directory. Rename this file to.env. - Application Key: Set the application key, which is used for encryption, by running:
php artisan key:generateThis command will automatically set the application key for your environment.
3. Database Connection (Optional): If your application will interact with a database, update the database settings in your .env file. Here’s an example for MySQL:
DB_CONNECTION=mysql
DB_HOST=127.0.0.1
DB_PORT=3306
DB_DATABASE=your_database
DB_USERNAME=your_username
DB_PASSWORD=your_password
Replace your_database, your_username, and your_password with your database details.
Step 3: Running Your Laravel Application
With everything set up, it’s time to see Laravel in action:
- Start the Laravel Server: Run the built-in Laravel server using:
php artisan serve2. Access Your Application: Open your web browser and visit http://localhost:8000. You should see the Laravel welcome page, indicating everything is working correctly.
Step 4: Next Steps
Now that you have a working Laravel environment, you’re ready to explore the wonderful world of Laravel. Start by familiarizing yourself with the directory structure, the routing system, and Blade templating. Laravel’s extensive documentation, available on their official website, is a fantastic resource to help you along the way.
And there you have it! You’re now set up with a fresh Laravel environment, ready to tackle the exciting world of web development with one of the most popular PHP frameworks.
The Nitty-Gritty of File Uploading
Step 1: Crafting the File Upload Form
Our journey begins in the view file, where we create a user interface for file uploading:
<!-- resources/views/upload.blade.php -->
<form action="{{ route('file.upload') }}" method="POST" enctype="multipart/form-data">
    @csrf
    <input type="file" name="file" />
    <button type="submit">Upload</button>
</form>
Here, we’re using Blade, Laravel’s powerful templating engine. Notice the enctype="multipart/form-data"? That’s crucial for uploading files.
Step 2: Routing to Success
Routes are the backbone of any Laravel application. Here’s how we set up ours:
use Illuminate\Support\Facades\Route;
use App\Http\Controllers\FileUploadController;

Route::post('/upload', [FileUploadController::class, 'store'])->name('file.upload');
This code snippet creates a POST route that triggers when our form is submitted.
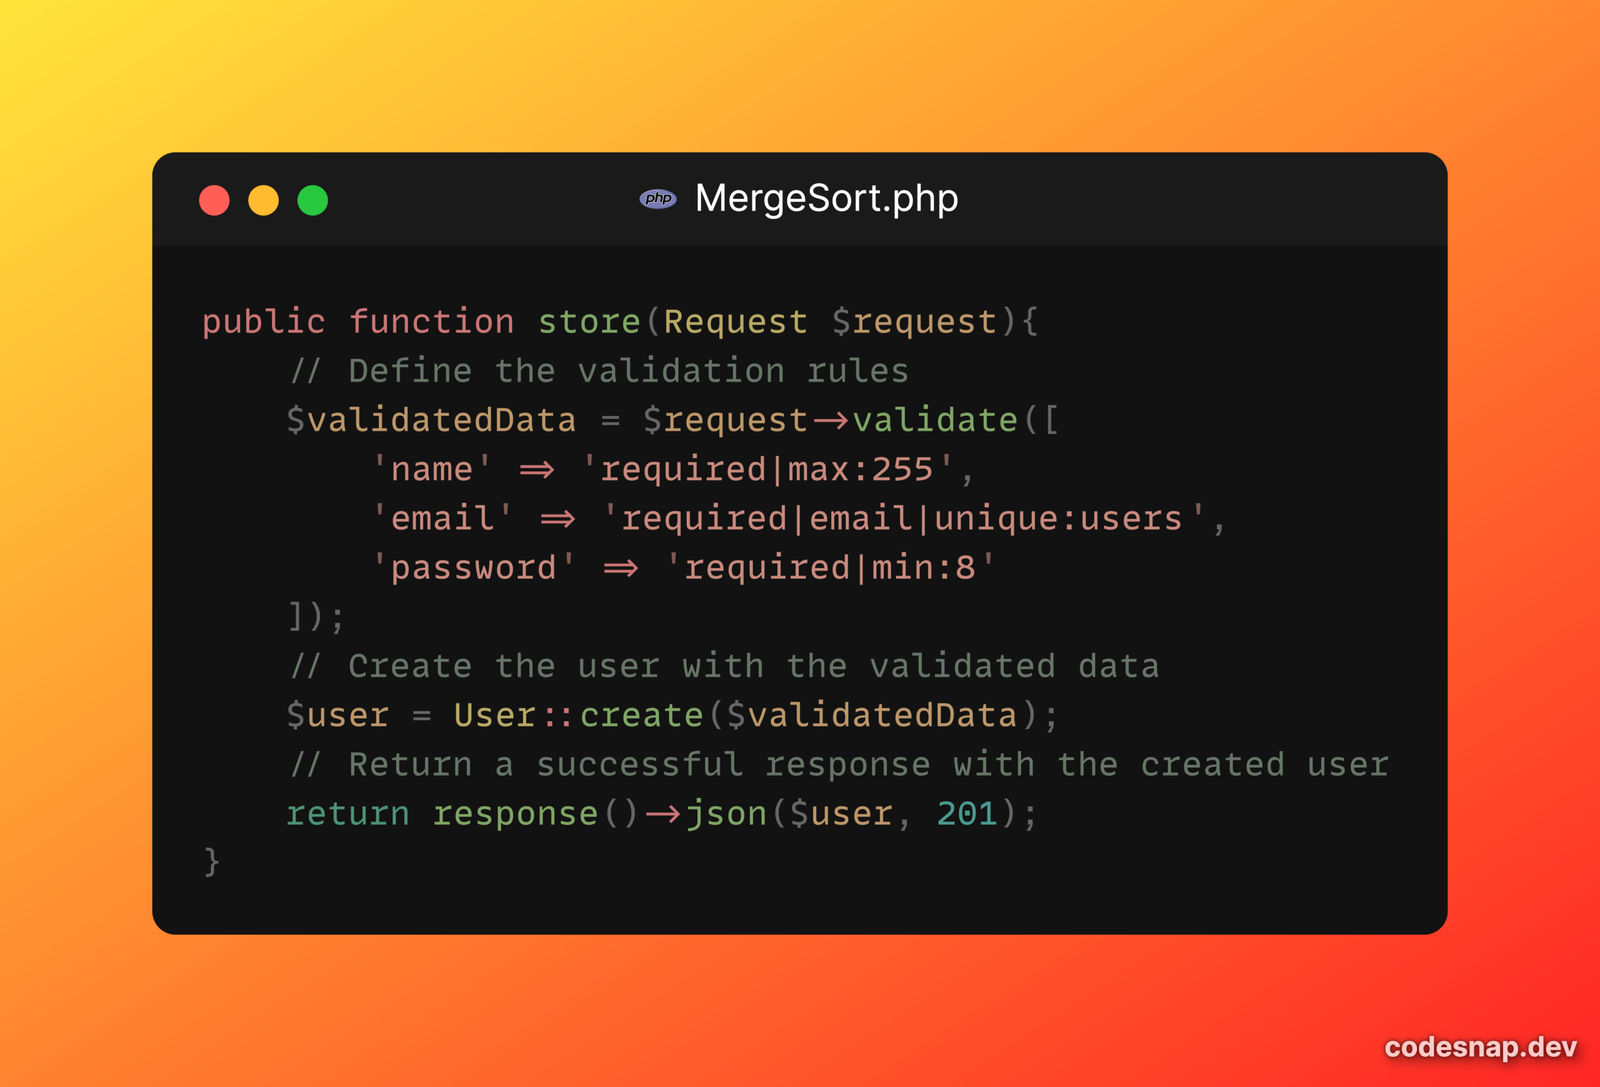
Step 3: Controller Magic
The controller is where the real action happens. Let’s break down the FileUploadController:
namespace App\Http\Controllers;

use Illuminate\Http\Request;

class FileUploadController extends Controller
{
    public function store(Request $request)
    {
        $request->validate(['file' => 'required|file']);

        $fileName = time().'.'.$request->file->extension();
        $request->file->move(public_path('uploads'), $fileName);

        return back()->with('success','You have successfully uploaded the file.');
    }
}
We’re doing a few things here. First, validating the incoming request to ensure a file is included. Then, we’re generating a unique file name and moving the file to our public/uploads directory. Simple, yet powerful!
Elevating Your File Upload Game
- Advanced Validation: You can validate file types, sizes, and more to ensure only the right kind of files are uploaded. Laravel’s validation system is incredibly powerful and flexible.
- Storing Files: While we used the
publicdirectory, Laravel offers a variety of ways to store files. You might want to use thestoragedirectory or even a cloud storage provider like Amazon S3 for better scalability and security. - Security Concerns: Never underestimate the importance of security in file uploads. Restricting file types, implementing size limits, and scanning for viruses are crucial steps to protect your application.
- Error Handling: What happens when something goes wrong? Graceful error handling is key to a good user experience. Make sure to catch and handle any exceptions that might occur during the file upload process.
Going Beyond Basics
Once you’re comfortable with basic file uploads, why stop there? Here are some advanced concepts you can explore:
- Image Manipulation: If you’re dealing with images, libraries like GD or Imagick can be used for resizing, cropping, or applying filters.
- Chunked Uploads: For large files, consider implementing chunked uploads. This breaks the file into smaller pieces, making the upload process more reliable, especially over slower connections.
- Progress Indicators: Enhance the user experience by providing progress indicators during file uploads. This can be achieved with some JavaScript magic and Laravel’s broadcasting capabilities.
Conclusion
Congratulations! 🎉 You’ve just leveled up your Laravel skills. File uploading is a fundamental aspect of web development, and with Laravel 10, it’s not only straightforward but also adaptable to a wide range of applications.
Originally published at Medium.com